
Bounty Guide — Best Brawlers & Strategy
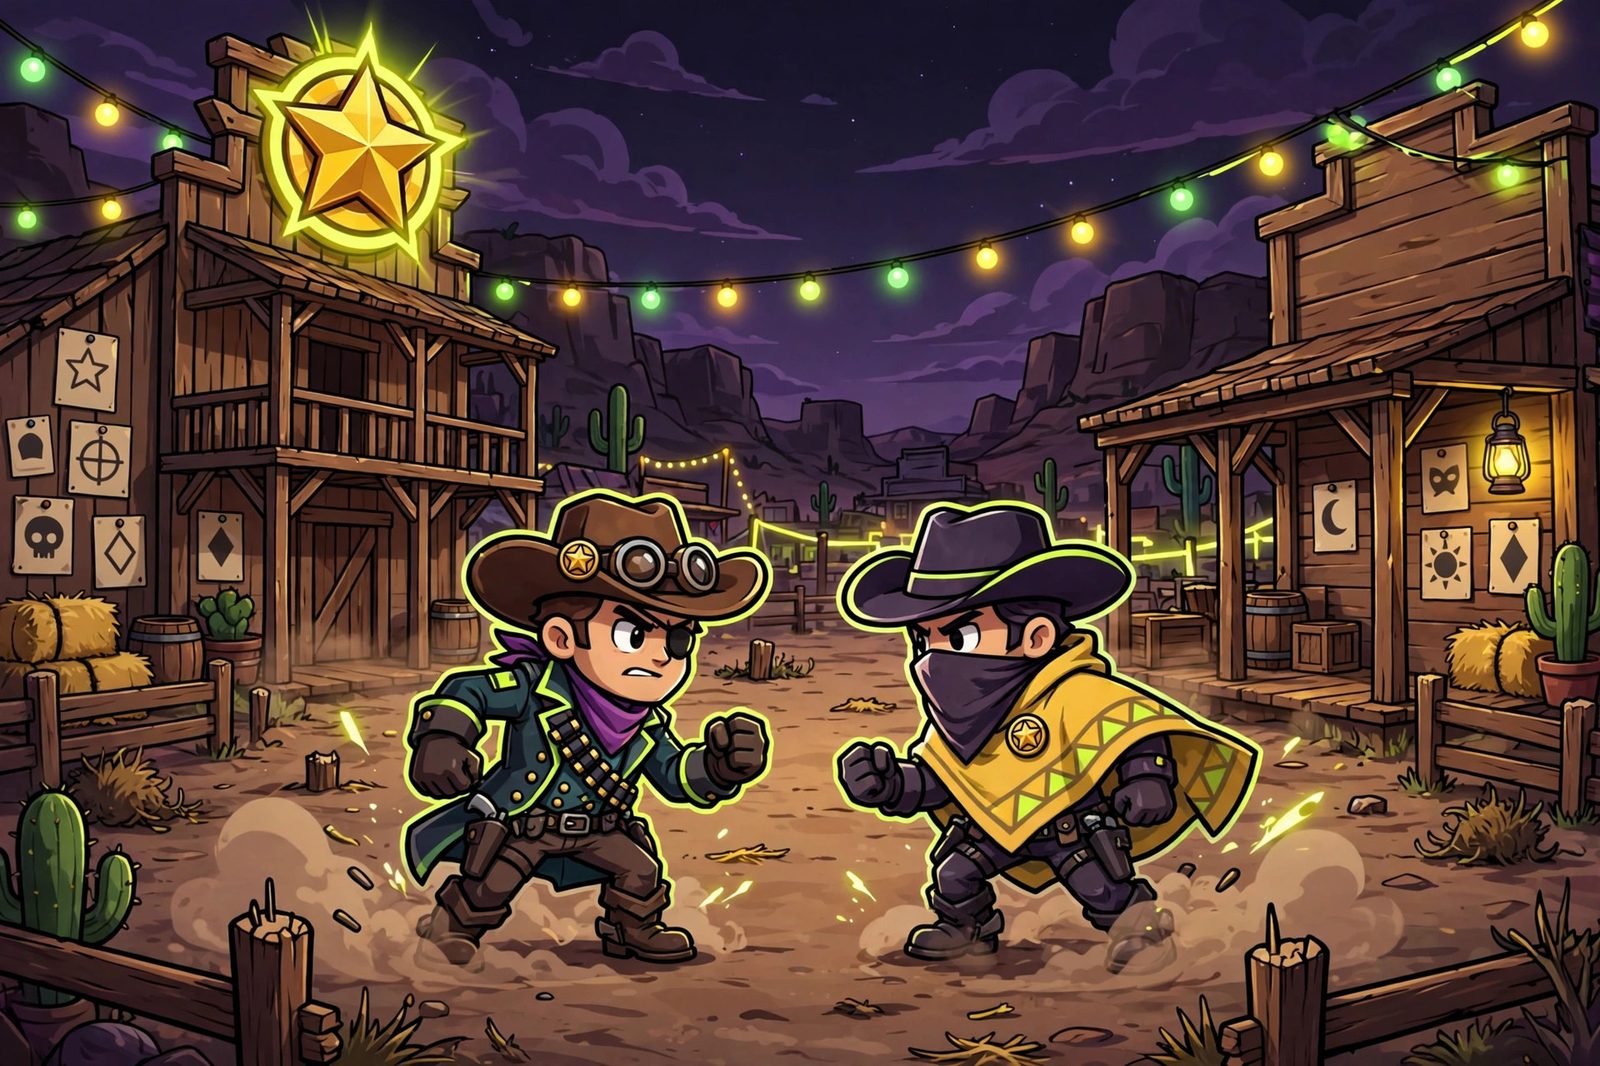
Bounty is 3v3 deathmatch with a twist: kills earn stars, and the team with more stars when time expires wins. Dying feeds the enemy stars — so Bounty punishes aggression harder than any other mode. It's sniper heaven and assassin hell.
How Bounty Works
Each kill is worth stars (escalating per kill streak). Your star count is visible above your head — high-star players become priority targets. When time expires, most stars wins; ties break on kills. The meta rule: don't die. A 5-star player dying feeds 5+ stars and flips the game. Bounty is won by safe poke and picks, never by hero dives.
Best Brawlers for Bounty
| Brawler | Grade | Why |
|---|---|---|
| Brock | S | The Bounty king — pokes safely all game. |
| Piper | S | One-shots at max range; star farmer. |
| Colt | S | Lane control + wall breaks. |
| Belle | A | Marks spread damage across the team. |
| Spike | B | Poke and splits; Super secures picks. |
| Edgar | D | Diving feeds stars. Never. |
Winning Strategy
- Your life is worth stars. Play every Bounty fight as if dying loses the game — because at 4+ stars, it does. Disengage early, always.
- Focus the star carrier. Call out the 5-star enemy and collapse on them. One pick swings the entire match.
- Win the poke war. Chip damage with no deaths beats kills-with-trades. The team that stays alive banks stars passively.
- Save Supers for picks. Don't waste zone Supers early — hold them for the guaranteed pick on the retreating star carrier.
- Know the score, always. Bounty strategy flips on the star count — ahead means hide, behind means hunt. Check before every fight.
- Retreat at half health. A living 4-star player who backs off and heals is worth more than a dead one who 'almost' got a pick.
Map Control & Positioning
Bounty is played from cover, at range, in the mid-third of the map. The team holding mid cover sets the poke angles and forces the enemy to cross open ground to fight back. Take the center star early if it's safe — it's a free star — but never die for it: the star is worth 1, while your death is worth your whole bounty. Remember that a brawler's bounty grows with every kill they score, up to 7 stars, so the enemy's most fed player is always their biggest liability. As the match goes on, your position should follow your own star count: the higher your bounty climbs, the further back you play, because you're now worth more dead than alive.
Endgame math wins Bounty. In the last 30 seconds, check the score before every fight. If you're ahead, your team wins by not fighting — spread out, stay behind cover, and let the clock run. If you're behind, you must force a pick on their highest-bounty player before time expires, so group up and take the fight you'd normally avoid. Ties and near-ties flip on a single death, which is why the last fight of a Bounty match should always be a deliberate choice, never an accident that happens because two players wandered into range.
Common Mistakes
- Diving for a pick. A dive that trades kills feeds stars both ways — and if your bounty was higher, you lost the trade.
- Grouping in area-attack range. Spike, Belle and throwers farm grouped teams; spread across cover so one Super can't hit two of you.
- Ignoring your own bounty. At 5 or more stars you're the win condition for the enemy. Play like it — back line, full health, no greedy peeks.
- Chasing the center star into a set defense. The star is a bonus, not an objective worth a death.
Pro Tips
Call the bounty target out loud — "their Piper is worth 6" turns three solo players into one collapse. Poke with discipline: chip damage that forces a retreat is worth as much as a kill, because a retreating star carrier isn't farming your team. And learn the maps' long lanes before you lock a pick: Bounty is the most map-dependent mode in the game, and the brawler who's S-tier on Shooting Star can be a throw pick on a bushy map.
Protecting a lead is a skill, not cowardice. With 30 seconds left and a star advantage, the correct play is often to retreat toward your spawn-side cover and refuse every fight — the enemy has to come to you, crossing open ground into your poke. The throw is chasing one more kill for style and handing their star carrier a 6-star swing. Conversely, if you're the trailing team, don't let the last fight be a fair one: burn Supers together on their highest-bounty player, because a messy trade that kills their 7-star carrier wins games that polite poke loses.